06 October 2026
Why Durable Booklet Printing Matters for Your Next Project
Presented by @lirbmwciqh
When you put time and thought into a booklet, you want it to last. Maybe it is a training manual for new hires, a portfolio you hand to a potential client, or the program for a community event in Lancaster. A flimsy booklet that falls apart after one read sends the wrong message. It says the content inside does not matter much. That is where durable booklet printing comes into the picture. It is not just about thicker paper. It is about matching the right materials, binding, and finishes to how the piece will actually be used.
I have seen people spend weeks perfecting the layout in InDesign or Canva, only to skimp on production. They choose the cheapest paper stock and a basic staple bind, then wonder why the booklet looks tired after a single trip in a bag. The truth is, a few smart choices during the print process can make the difference between something that feels disposable and something that feels like a permanent reference. And those choices do not have to break the budget. They just require a little foresight.
What Makes a Booklet Durable?
Durability in a booklet comes from three main factors: the paper stock, the binding method, and the coating or finish. Each one plays a role in how the booklet handles wear. A training manual that gets flipped through daily needs a heavier cover stock, maybe 100 lb or more, and a binding that lets it lie flat without cracking. A marketing kit that goes into a mailer needs to resist scuffing and moisture. A portfolio that sits on a desk needs to hold up to repeated handling without dog-earing.
Paper stock is the foundation. A 60 lb text weight might work for a one-time event program, but for anything that gets carried around or read more than once, I recommend at least 80 lb text for the inside pages and a cover stock of at least 100 lb. The difference in feel is immediate. Heavier stock also handles ink better, especially if you are printing full-color images in CMYK. The ink sits on the surface rather than soaking in and looking dull.

Binding is the next big decision. Saddle stitch is the most common and cost-effective method for booklets up to about 48 pages. It uses wire staples through the fold. It works well for thin catalogs or event programs. But saddle stitch has limits. Over time, the staples can loosen, and the pages can pull out if the booklet is heavy. For thicker booklets or pieces that need to last longer, perfect bound is the better choice. Perfect bound uses a flexible glue that holds the pages together at the spine. It looks more like a paperback book and handles daily flipping much better. The trade-off is cost and turnaround time. Perfect bound takes longer to set up and costs more per unit, but for a training manual or a high-end portfolio, it is worth it.
Coating and Finishes: More Than Just Shine
A coating does not just make the cover look nice. It protects the printed surface from fingerprints, smudges, and light scuffs. A gloss coating adds a reflective shine that makes colors pop, especially in photos or marketing materials. A matte coating gives a smooth, non-reflective finish that feels more professional and resists glare under office lights. Both add a layer of durability that holds up better than uncoated stock.
If you are printing a catalog or a magazine-style booklet that will be handled by many people, consider a UV coating on the cover. It is a thin liquid laminate that cures under ultraviolet light, creating a tough surface. It is the same finish you see on high-end brochures and business cards. It prevents the ink from rubbing off and keeps the booklet looking fresh.
Real-World Examples of Durable Booklet Printing
I worked with a small nonprofit in Lancaster that needed a training manual for their volunteers. The manual was 64 pages, full of step-by-step instructions and color photos. They originally planned to print it on cheap paper with a saddle stitch. I showed them a sample of the same content done as a perfect bound booklet on 80 lb paper with a matte coated cover. They felt the difference immediately. The perfect bound version lay flat when open, did not crack along the spine, and looked like something you would keep on a shelf. They ordered 200 copies and have reordered twice since. That is durable booklet printing in practice: the booklet lasts through multiple training sessions and still looks professional after a year.
Another example is a local photographer who wanted a portfolio booklet to show at client meetings. She had designed it in InDesign with full-bleed images on every page. Bleed is critical here. It means the image extends past the edge of the page so that after the booklet is trimmed, there is no white border. She chose a heavy cover stock with a gloss UV coating and perfect bound binding. The result was a booklet that felt substantial and could be passed around a conference table without showing wear. She told me later that clients often commented on the quality of the booklet before they even looked at the photos.
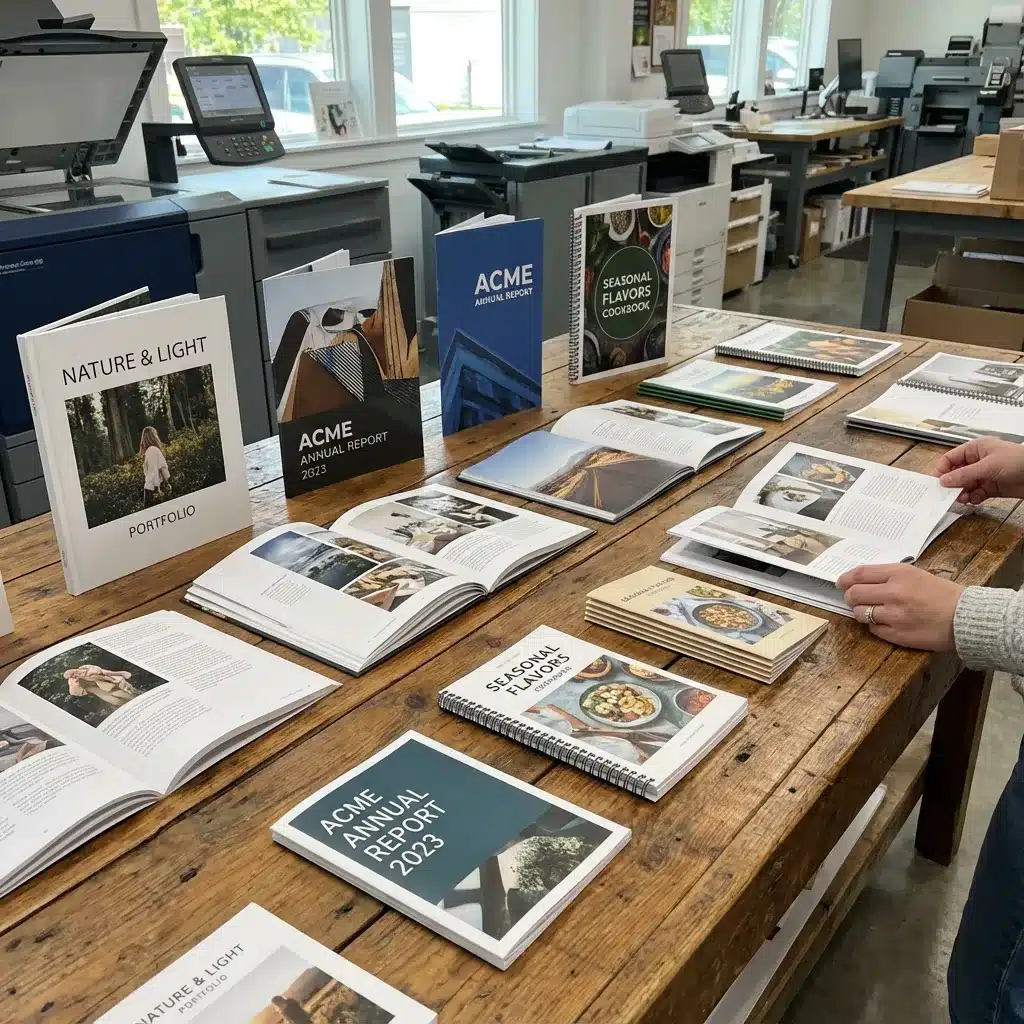
For thinner pieces, like an event program or a sales flyer that folds into a booklet, a saddle stitch with a coated cover stock is usually enough. The key is matching the production to the use. If the booklet will be handed out once and thrown away, go with the budget option. If it will be read multiple times or kept as a reference, invest in better materials and binding.
Practical Tips for Setting Up Your File
No matter what binding or paper you choose, your file setup affects the final result. Start with a PDF exported at high resolution, at least 300 dpi for images. If you are using Canva, export as a print-ready PDF rather than a standard one. Canva adds its own margins sometimes, so check the bleed settings. For InDesign, set your document to include a 0.125 inch bleed on all sides. That extra bit of image outside the trim line ensures that after cutting, there is no white edge.
Color is another area where small mistakes cause big problems. CMYK is the standard for commercial printing. If you design in RGB, the colors will shift when converted. If you need a specific brand color, use a Pantone spot color. Pantone inks are mixed to a formula, so the color is consistent across every copy. That matters for logos and brand elements. A marketing kit with a mismatched logo color looks sloppy, no matter how good the paper is.
When you submit your file, include the page count and specify the binding type. If you are not sure, ask the printer. A good print shop will check your file for common issues like missing fonts, low-resolution images, or insufficient bleed. That is part of why working with a local service matters. In Lancaster, I have seen printers catch problems before they ever hit the press, saving customers time and money.
Bringing It All Together
Durable booklet printing is not a single option on a checklist. It is a set of decisions that work together. The paper stock supports the content. The binding keeps the pages secure. The coating protects the surface. The file setup ensures the print matches the design. When you get all of those right, the result is a booklet that looks good, feels good, and lasts.

Whether you are producing a catalog, a magazine, a training manual, or a portfolio, think about how it will be used. Will it sit on a desk? Get thrown in a bag? Be passed around a table? That answer should guide your choices. And if you are ever unsure, ask someone who works with print every day. A quick conversation can save you from ending up with a booklet that looks great on day one and rough by day ten.
I have seen too many projects where the content was excellent and the design was sharp, but the physical booklet let it down. Do not let that be you. Invest in durable booklet printing and give your work the physical quality it deserves.